Thursday, December 22, 2016

[Fixed] Unable to open an app from notification or unable to share or import somthing in an app in MIUI

  1 comment

  • Nothing happens when I try to open an app from notifications. 
  • Nothing happens when I try to share any thing from an app.
  • Unable to import or export content from/in an app. 


To be very true these were the most annoying problem I faced after buying a Xiaomi Redmi 3S Prime. It was my first Mi phone so I was not very familiar to MIUI. I faced the issue when I tried to open some apps from notifications. Additionally I was unable to share and import content in some apps. After 10 days of trial and error, I got rid of the problem. Luckily it was not a big bug. This problem could upset you after buying a new phone so I am sharing the method to solve this annoying issue.

Step 1 

Note down the apps having such problems. 

Step 2

Go to settings> Installed apps

Step 3 

Now select one of the apps having the issues. Scroll down to find and select "Other Permissions".

Step 4 


Turn on "Start in background" and "Display pop-up window" options.

Step 5 

Repeat the process for other such apps having problems.

Reason: 

Like other blogs and how-to sites I will not only tell you the method. I'll tell you what's the reason behind it. Actually in Android 6.0 Marshmallow and up apps get installed without asking much permissions. They later ask you to give permission to use storage, contacts, wifi etc. when needed. If you deny a required permission, app can't use a resource. In our case some apps don't ask to allow them to "start in background" and to "create pop-up window". When we give them permissions, they work fine.

For more queries like our Facebook page and leave a comment.
Enjoy.  

Thursday, November 3, 2016

How to turn on USB Debugging on Android?

  2 comments
To enable USB debugging on your Android device you have to Unlock "Developer Options".
To enable Developer Options follow these steps:

  • Open Settings.


  • Scroll down to find "About" or "Device Info".


  • Open "About" option and look for "Software Information".


  • Open Software Information option and find "Build Number".


  • Tap 8 times on build number to enable "Developer Options".


  • Go back to settings to see Developer Options in Settings.


Open Developer Options and check USB Debugging option to enable it.

Wednesday, November 2, 2016

How to root Zenfone 5 Kitkat/Lollipop?

  No comments

If you are finding it difficult to root your Zenfone 5 after upgrading to Kitkat/Lollipop, I have a good news for you.
I have made it easy and step by step.

Requirements:

  • A Windows or Linux PC.
  • An USB data cable.
  • ADB drivers.

Step 1

Turn on USB debugging on your device.

Step 2

Connect your device to your PC via USB data cable.

Step 3

Download and install ADB drivers to your PC.
To download click here.

Step 4

Download Zenfone 5 rootkit.
To download click here.

Step 5

Unzip ZF5_LP_ROOTKIT.

Final Step

For Windows:
Run executable "root.bat" file.
For Linux:
Open "SH" folder and run "root.sh" script file.

Saturday, October 1, 2016

What is Android rooting?

  No comments
You might have heard or read about 'Android Rooting' or 'Android Root'. There are many misconceptions about android rooting. Some say it is like 'Jailbreaking' in Apple iOS, some says it is difficult and only testers and developers should try these thing.
I'm here to clear there misconceptions and to tell you what android rooting is and what it is for.

What is android rooting?

Rooting is the process that allows an Android OS user to attain 'privileged access' or 'root access' on their android devices. Android OS is 'Linux' based operating system and rooting gives similar access to administrative permissions as on Linux and such operating systems.
We can root our Android devices to overcome system limitations set by device manufacturers, alter or replace system applications, run apps which requires root permissions, modify current firmware(rom), and install a new custom firmware or latest Android versions.

Rooting and jailbreaking

Rooting is often compared to jailbreaking Apple devices running iOS. These are quite different concepts. Jailbreaking is performed with a 'locked bootloader' to bypass several Apple prohibitions, to install external apps and modify system while rooting is performed with an 'unlocked bootloader' to get privileged access to install apps and modify system.

What changes rooting does on your system?

Though there are different methods of rooting for different devices, but usually they exploit firmware's one or more security bugs to skip the 'digital signature check' for updates. Then a modified firmware update can be installed which usually have utilities to run root apps. Such as the 'su binary' can be copied to the path /system/xbin and granted executable permissions by 'chmod' command. Now a third party root governing app like SuperSu or SuperUser can give root permissions to apps and keep their log data

How to root my Android?

Most of the popular mobile manufacturers like 'Asus', 'Sony', 'HTC' and 'Google' explicitly provide the methods of unlocking bootloader. There are a lot of easy, fast and automated methods of rooting popular Android phones or devices on the internet.

Friday, September 30, 2016

How to hide WhatsApp multimedia files automatically from Gallery and other media players in Android?

  3 comments
We all use a lot of social media apps nowadays on our android smartphones. Where we can share our precious moments with our friends. But these apps download pics and videos to your phone and can cause problems when someone uses your phone. Who want his wife to see his girlfriend's pics, jokes apart. All download stuff can be seen easily in Gallery and other Multimedia apps.
There are a lot of solutions of this problem. You can use third party apps to hide content, but such free apps are full of ads and they don't hide new content in hidden folder instantly. Well, we are not here to discuss about such apps. There is a very simple solution exist and you don't need to install any app for it. 

Step by Step Process:

Step 1

Check if your file manager is able to create new files. If not, download any external file manager. I recommend ES File Explorer.

Step 2

Open the folder that you want to hide. For example - WhatsApp

Step 3

Now create file and name it <.nomedia> without tags.

Step 4

Open Gallery to see the changes. Delete <.nomedia> file to unhide content again.

Most of the android apps neglect the folder containg file <.nomedia>. It is a hidden file so you cannot see it without enabling <show hidden files> option in your file manager.
All you have to do is create a blank file and remame it to <.nomedia> in the folder that you want to hide. You can still see the content when you open that folder in file manager. Gallery and other music, photos and video players will not show the content.

Thursday, September 15, 2016

[Fixed] [Solved] Zenfone "Please install SIM1 card" or "Please install SIM2 card" error

  9 comments
Many of Zenfone users (including me) have been facing this "SIM card error" on their phones. It gets worse when we are in middle of something (during playing game, using internet or during calls) and signal drops. Then it reconnects and after some time, the error comes again. Its a very annoying and irritating problem. I searched internet for solutions but it didn't help. Some says to eject and insert SIM card, some says to upgrade or downgrade firmware. But it is neither a software issue nor a firmware bug. At last I got it solved by following method. I am sharing it with you.

STEP 1

Open back cover of your phone.

STEP 2

Remove battery if it is removable and it is necessary to remove it to see SIM card slot.

STEP 3

Remove SIM card from the SIM card slot which is showing error.

STEP 4

Now see following picture carefully and look for those two tiny bezels(metal stripes).

Press them lightly with your SIM card edge or with a toothpick. Don't press too much as it may harm your phone.

STEP 5

Now press whole SIM card slot with your thumb lightly, to bend it slightly downward.

STEP 6

Now insert your SIM card and power up your phone. Repeat steps again if problem still persists.If it helps please hit like on facebook button. Comment for feedback and queries.

This error is caused by loose SIM card in SIM slot. It gets loose when you eject or remove your SIM frequently or by tampered or SIM card with uneven edges. By following above method you can make it fit tight again.


Note: Do not press too much as it may damage your phone. Do not touch any other part of your SIM slot or battery. I have tested this method on my Zenfone 5 and it worked like a charm. Though it may damage your phone, so use this method on your own risk. I am not responsible for damaged devices and void warranties.


Thursday, July 21, 2016

How to flash Asus Zenfone

  No comments

How to unbrick Asus Zenfone 5 or any Zenfone model?


 If you have Asus Zenfone and you want to flash it with custom rom or your zenfone is bricked(stuck on Asus logo) and you are tired and sick of searching internet for solution then here is the solution.
All variants of Asus zenfone come with a fair amount of RAM and internal memory, this is the reason that most of the zenfone owners try to do experiments on their phones and end up having troubles. There is nothing wrong in experimenting, because I am here to help you.
If you want to flash your phone with custom rom, stock rom, or your phone is bricked(stuck on boot, or in bootloop), then you need a couple of tools, firmware a working windows computer.

Required tools:
ADB drivers for your phone.
ADT tool with latest fastboot and adb.
Required PC:
Windows computer with Windows XP, Windows Vista, Windows 7,Windows 8 or Windows 10 and an USB data cable to connect your phone with PC.

Required firmware:
You must have required firmware either custom ROM or you can download stock firmware for your phone from Asus website.
For Zenfone 5 use 2.21.40.44 (kitkat) version. You can upgrade it to Lollipop after flashing.

Note:
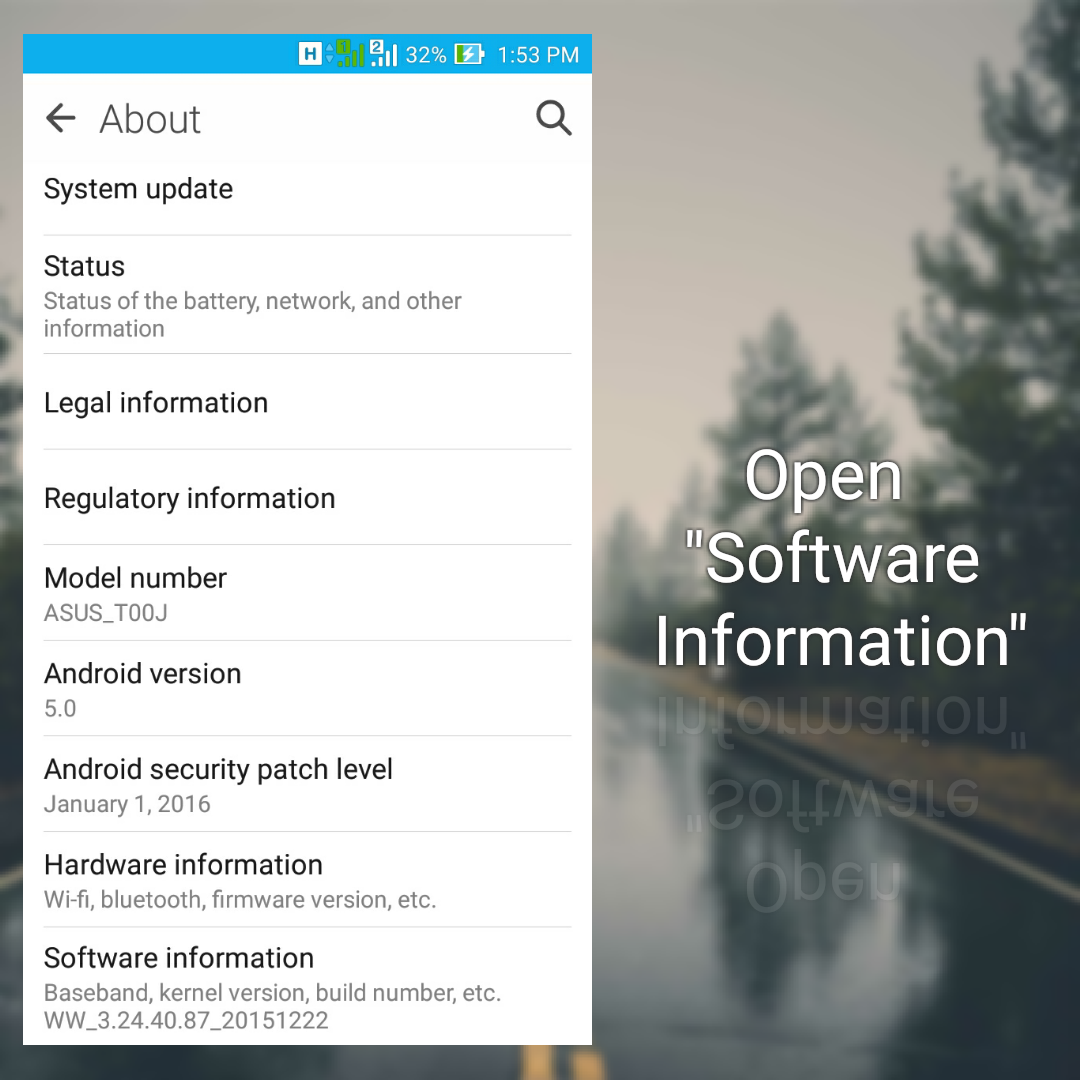
Make sure that you download right SKU firmware meant if your previous version is WW then you have to download WW version, so for CHT, TW, and CN. If you don't know your SKU version then download CN if you are in China, download TW for Taiwan and download WW for any other country using English and Google products.

Procedure:
1. Unzip the downloded adb drivers and adt tools.
2. Copy your firmware to two places without unzipping first in adt tools folder and second to your desktop.
3. Unzip the copy of firmware on your desktop and copy boot.img, fastboot.img and recovery.img to adt tools folder.
4. Now you need to boot your phone to bootloader(fastboot). To do so press and hold volume up button+power button until bootloader appears.
5. Now connect your phone to computer with an USB data cable.
6. Open adb drivers folder and install adb driver for your phone.
7. Now open adt tools folder, press and hold shift key then right click somewhere in it. Select Open command window here option. It will open a dos window(shell).
8. Now type fastboot flash fastboot fastboot.img and press enter.
9. Type fastboot flash recovery recovery.img and press enter.
10. Type fastboot flash boot boot.img and press enter.
11. Eject data cable from your phone and navigate to reboot droidboot option pressing volume up and down keys. Select by pressing power key after that. Phone will reboot to bootloader again.
12. Now select recovery and phone will reboot to recovery showing android and a warning sign.
13. Unlock recovery by this combination in sequence. Press and hold volume down key+volume up key. This will show recovery options.
14. Now connect the phone to data cable and select apply update from ADB in recovery options.
15. Now type adb sideload filename.zip in the command window. Type firmware file name in place of firmware in above command.
16. This will sideload new firmware and your phone will restart on completion of the process.
Enjoy...

Still have problems? Hit 'like' on facebook and leave comment.